Adaptive sticky banner
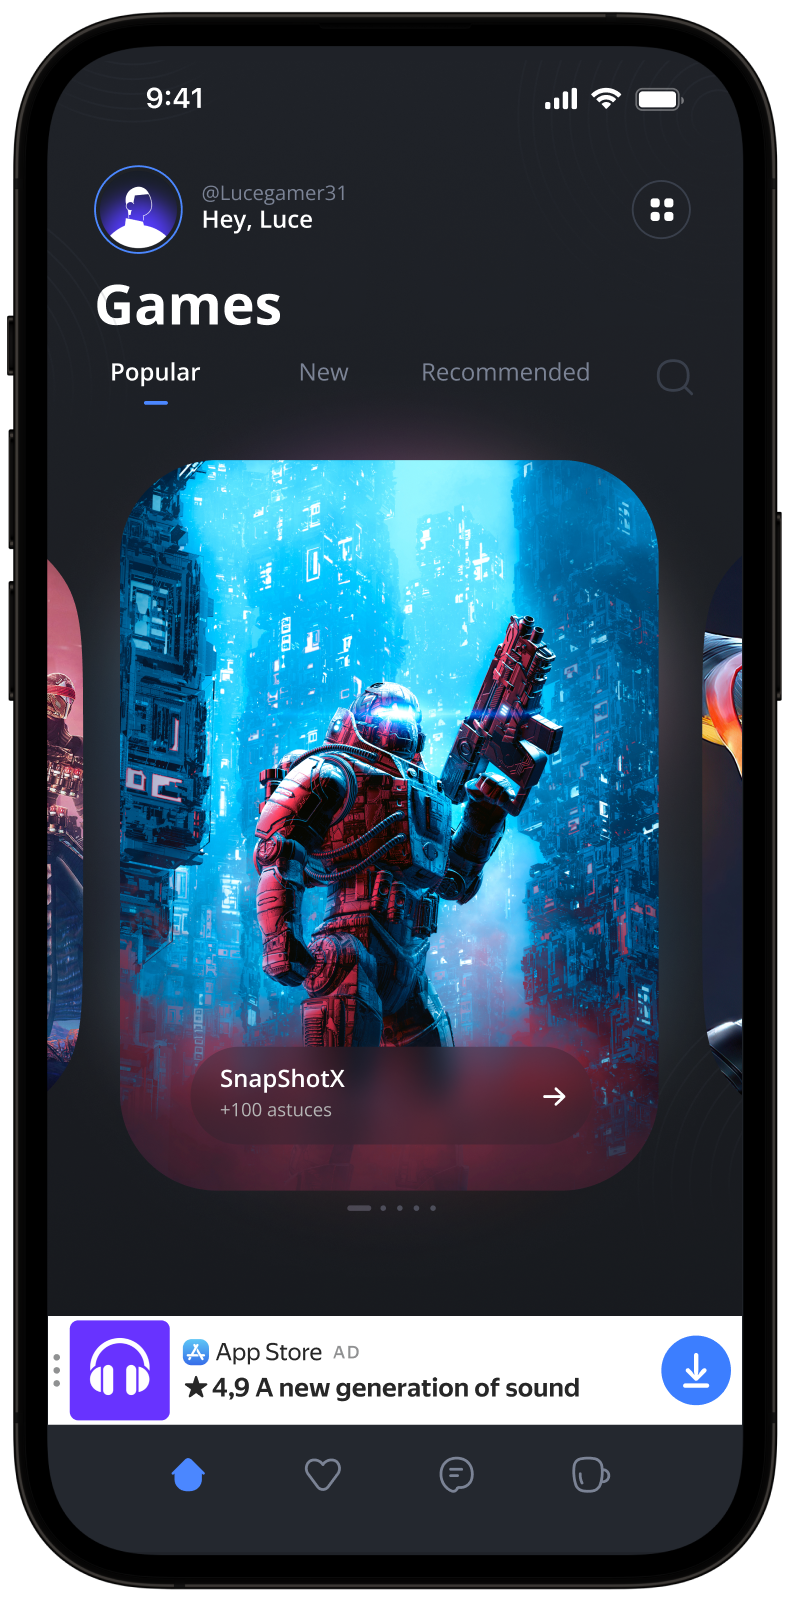
An adaptive sticky banner is a small, automatically updated ad placed at the bottom or top of the app screen. It doesn't overlap the main content and is often used in gaming apps.
The adaptive sticky banner delivers maximum performance by optimizing the ad size for each device. With this ad type, developers can set the maximum allowable ad width, and the system determines the optimal ad size automatically.
Appearance
This guide covers the process of integrating adaptive sticky banners into Android apps using the Jetpack Compose extension. Besides code samples and instructions, it contains recommendations and links to additional resources.
Prerequisite
- Follow the SDK integration steps described under Quick start.
- First, you need to initialize the advertising SDK.
- Make sure you have the latest Yandex Mobile Ads SDK version. If you're using mediation, update to the most recent single build version.
To use Jetpack Compose, add the following dependency to build.gradle.kts:
dependencies {
    implementation("com.yandex.android:mobileads:8.1.0")
    implementation("com.yandex.android:mobileads-compose:8.1.0")

    // Compose BOM (at least 2024.01.00)
    implementation(platform("androidx.compose:compose-bom:2025.03.00"))
}
Implementation
Key steps for integrating adaptive sticky banners:
- Use a
Bannercomposable with theBannerSize.Stickysize. - If needed, pass
BannerEventsto track ad events.
Features of adaptive sticky banner integration
-
All calls to Yandex Mobile Ads SDK methods must be made from the main thread.
-
If the
onAdFailedToLoad()callback returns an error, don't try to load a new ad again. If you have to, limit the number of ad loading retries to avoid unsuccessful requests and connection issues. -
Adaptive sticky banners work best when utilizing the full available width. In most cases, this will be the full width of the device screen. Consider the padding parameters set in your app and the display's safe area.
-
The ad size is defined using
BannerSize.Sticky(width), with the width specified in dp and the height calculated automatically. The context for this calculation is resolved automatically within the composable. -
If you have mediation enabled, wait for initialization to complete before calculating the size of the sticky banner. Until the initialization is complete, only a preliminary size is available, which may change after obtaining the accurate settings.
-
The size of a sticky banner remains constant for a given device. When testing the app's layout on a specific device, you can be sure that the ad size for that device will remain the same.
-
The height of an adaptive sticky banner must be at least 50 dp but no more than 15% of the screen height.
-
The
Bannercomposable automatically handles ad loading and disposal according to the Compose lifecycle. You don't need to manage theBannerAdViewmanually. If theadRequestoradSizechanges, theBannerAdViewis recreated automatically.
Loading and rendering ads
To display a sticky banner, use a Banner composable with the BannerSize.Sticky size. Specify the width in dp.
The composable automatically handles size calculations, ad loading, and impressions. You don't need to manually manage the BannerAdView lifecycle.
To load ads, you need the ad placement ID obtained in the Yandex Advertising Network interface.
You can expand the ad request parameters using AdRequest.Builder(). To do this, pass information about the user's interests, page context, location, and other additional data in the request. Context can greatly improve the ad quality. To learn more, see Ad targeting.
Sample adaptive sticky banner
Once loaded, the banner is displayed automatically:
import com.yandex.mobile.ads.common.AdRequest
import com.yandex.mobile.ads.compose.Banner
import com.yandex.mobile.ads.compose.BannerSize

@Composable
fun MyScreen() {
    Banner(
        adRequest = AdRequest.Builder("your-ad-unit-id").build(),
        adSize = BannerSize.Sticky(width = 320),
        modifier = Modifier.fillMaxWidth(),
    )
}
To track ad events, pass BannerEvents:
import com.yandex.mobile.ads.common.AdRequest
import com.yandex.mobile.ads.compose.Banner
import com.yandex.mobile.ads.compose.BannerEvents
import com.yandex.mobile.ads.compose.BannerSize

@Composable
fun MyScreen() {
    Banner(
        adRequest = AdRequest.Builder("your-ad-unit-id").build(),
        adSize = BannerSize.Sticky(width = 320),
        modifier = Modifier.fillMaxWidth(),
        events = BannerEvents(
            onAdLoaded = { Log.d("YandexAds", "Banner loaded") },
            onAdFailedToLoad = { error -> Log.e("YandexAds", error.description) },
            onAdClicked = { Log.d("YandexAds", "Banner click") },
            onImpression = { data -> Log.d("YandexAds", "Impression: ${data?.rawData}") },
        )
    )
}
If you serve ads through Adfox, then after the banner ad response, the campaignId, bannerId, and placeId data can be accessed from the BannerAdView objects using the adAttributes property of the AdAttributes type.
Testing adaptive sticky banner integration
Using demo ad units for ad testing
Use test ads to check your adaptive sticky banner integration and the app itself. To make sure that test ads are returned for each ad request, you can use a special demo ad placement ID.
Demo adUnitId: demo-banner-yandex.
Warning
Before publishing your app in the store, make sure to replace the demo placement ID with the real ID you obtained in the Yandex Advertising Network interface.
For the list of all available demo ad placement IDs, see Demo ad units for testing.
Testing ad integration
You can check if your adaptive sticky banners are integrated correctly using the SDK's built-in analyzer. A detailed report with the test results will appear in the log.
To view the report, search for the keyword “YandexAds” in Logcat, a tool for debugging Android apps.
adb logcat -v brief '*:S YandexAds'
If the integration is successful, the following message is returned:
adb logcat -v brief '*:S YandexAds'
mobileads$ adb logcat -v brief '*:S YandexAds'
I/YandexAds(13719): [Integration] Ad type banner was integrated successfully
If there are any banner integration issues, you'll get a detailed issue report and troubleshooting recommendations.
Additional resources
- Link to GitHub.